I’ve been looking for an easy way to collaborate with others on Unity projects. I want:
- Version-control
- A graphical user-interface
- I don’t want to set up my own server
- It has to be “cheap enough”
GitHub seemed the way to go and I wasn’t disappointed. Well, the free GitHub Mac app does have a few shortcomings, but it gets the most basic stuff done nicely!
Here’s a step by step walkthrough of how to get going:
Create new project in Unity or open the project you want to use.
Go to Edit > Project Settings > Editor and enable Version Control by setting the Mode to Meta Files
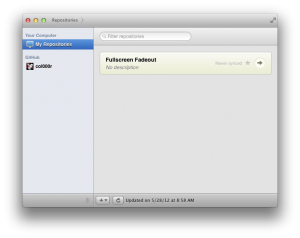
Drag and Drop your project folder into the GitHub app – it will show up under Your Computer
If you don’t have your GitHub account in the list yet, go to the settings and type in your username and password. The new project doesn’t show up under your account until we Push it to GitHub a little later
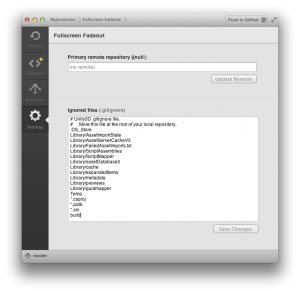
First we set up the project: Click the Arrow next to the project or double-click on the project, switch to Settings tab and tell GitHub which files and folders it should ignore (You can copy/paste the code from this blog entry)
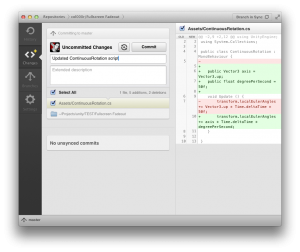
Go to the Changes tab and Commit all uncommitted changes.
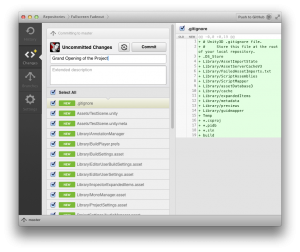
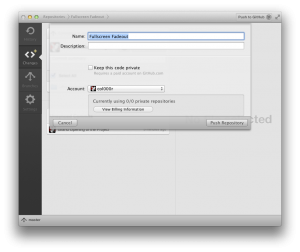
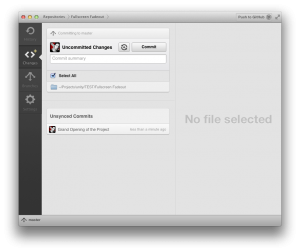 We’re still only local, but now we’ve readied the current state of the project to be pushed to GitHub. Notice how your last commit shows up under Unsynced Commits! Now let’s push the project to GitHub by pushing the “Push to GitHub” button!
This sets up a repository on GitHub, but the repository will still be empty (Also: please notice that you need a paid account to be able to make your code private. I think their rates are quite fair.)
So, as I said – your new repository on GitHub is still empty. Notice how the button we just pressed has changed to “Publish Branch”. Let’s push it again. It will now publish the branch and then read “Branch in Sync”! If you check the GitHub repository on the web, all your stuff is there now!
And this is the pattern you will follow when working on your project:
Work in Unity > Commit Changes > Sync Branch (notice that you can choose to commit only certain files or even only certain changes within text-files!)
History:
The History tab lets you go back and forth in history. Want to undo a commit? Here’s the place to do it.
This should be the most important stuff to get you going with GitHub and Unity! Stay tuned for a separate post about Branches!




2 Comments
For what do you need the meta files ?
I use GitHub with a few projects without them and it works just fine.
Also for those interested, the windows app is there : http://windows.github.com/
Have you had a chance to use this set up w/ large 3D model assets? .blend files, etc? Any issues?
2 Trackbacks
[…] http://blackish.at/blog/2012/05/unity-and-github.html […]
[…] http://blackish.at/blog/2012/05/unity-and-github.html […]